Adventures in making this website:
image optimization
Published on 2023-02-27.
Making and managing this personal website has been an adventure. In this series, I go over the technical challenges I’ve encountered and philosophical decisions I’ve made, and I review some of the tools I’ve used along the way. After part 1, part 2 and part 3, this is part 4.
Principles
After some consideration, I settled on the following five commandments of image optimization for this website:
-
Provide the originals. If any scaling or lossy compression has been done on an image displayed on the page, wrap it in
<a>linking to the full-size lossless original file. -
Prioritize quality. My server provider doesn’t charge me for traffic, and there aren’t many images on this website, so I can afford to keep the quality high. The degradation of an 80% JPEG compared to 90% isn’t worth it just to save a few kilobytes. You should do your own tests to decide what quality is acceptable for the kind of images you have.
-
Limit the resolutions. It’s wasteful to use a 2000px wide image if it’s only 200px wide on a user’s screen. I use the following rules to choose resolutions:
-
If an image is
Wpx wide my screen, its resolution should be roughly1.5*Wpx: a 50% surplus is friendly to high-DPI screens, and prevents scaling artefacts. This rule also works in reverse: if I have anXpx file for whatever reason, its scale should be chosen such that it takes up around0.67*Xpx on my screen. -
Because my website’s
<body>is ~720px wide for me, the largest sensible image width is ~1080px. But sometimes more is needed to show all details: in that case, display a downscaled image on the page, linking to the original. When downscaling, always divide the width and height by an integer divisor of both.
-
-
Use modern formats. The JPEG standard was released in 1992, and in the three decades since then, a lot of research has been done in image and video compression. If a modern format can shrink files by 75% with little to no change in quality, why wouldn’t I use it?
-
Maintain compatibility. Modern image formats are great, but some are so modern that almost nobody can use them, so fallbacks should be provided. Fortunately, HTML has a built-in way to do this, see below.
The HTML <picture> tag can be used to provide multiple formats
depending on what the browser supports,
or multiple resolutions depending on the user’s screen size
(I don’t use this feature as of writing).
<picture> is supported by all modern browsers,
but obviously not IE11,
although that doesn’t matter, because backwards compatibility is baked into it!
Here it is:
<!-- I wrap the whole image in a link to the original file -->
<a href="file.png">
  <picture>
    <!-- Various image source files are listed in order of preference:
    the browser will use whichever one fulfills its conditions first. -->
    <source srcset="file.avif" type="image/avif">
    <!-- Each `<source>` should include the MIME type, so the browser
    can know which format it is without needing to download the file. -->
    <source srcset="file.webp" type="image/webp">
    <!-- If no `<source>` is suitable, or the browser doesn't support
    `<picture>`, a traditional `<img>` at the bottom is used instead. -->
    <img src="file.jpg" alt="..." title="...">
    <!-- Other attributes like `alt` and inline CSS are always taken
    from `<img>`, even if a `<source>` tag is used to fetch the file. -->
   </picture>
</a>
To automate rules 1, 3, 4 and 5, I wrote a Jekyll template:
image.html.
To handle rule 3 there’s a bit of logic, but the idea is as follows:
- If the file is small enough not to need downscaling, provide an AVIF and the original JPEG or PNG (in that order). In my testing, WebP didn’t help much for such tiny images.
- For larger images, the full-size file ends in
-full, and the half-size file in-half. The template detects this, and then displays the downscaled AVIF, WebP and JPEG versions, wrapped in a link to the original PNG/JPEG.
Let me tell you how I squeezed every drop out of those PNG, JPEG, WebP and AVIF files.
Optimizing each format
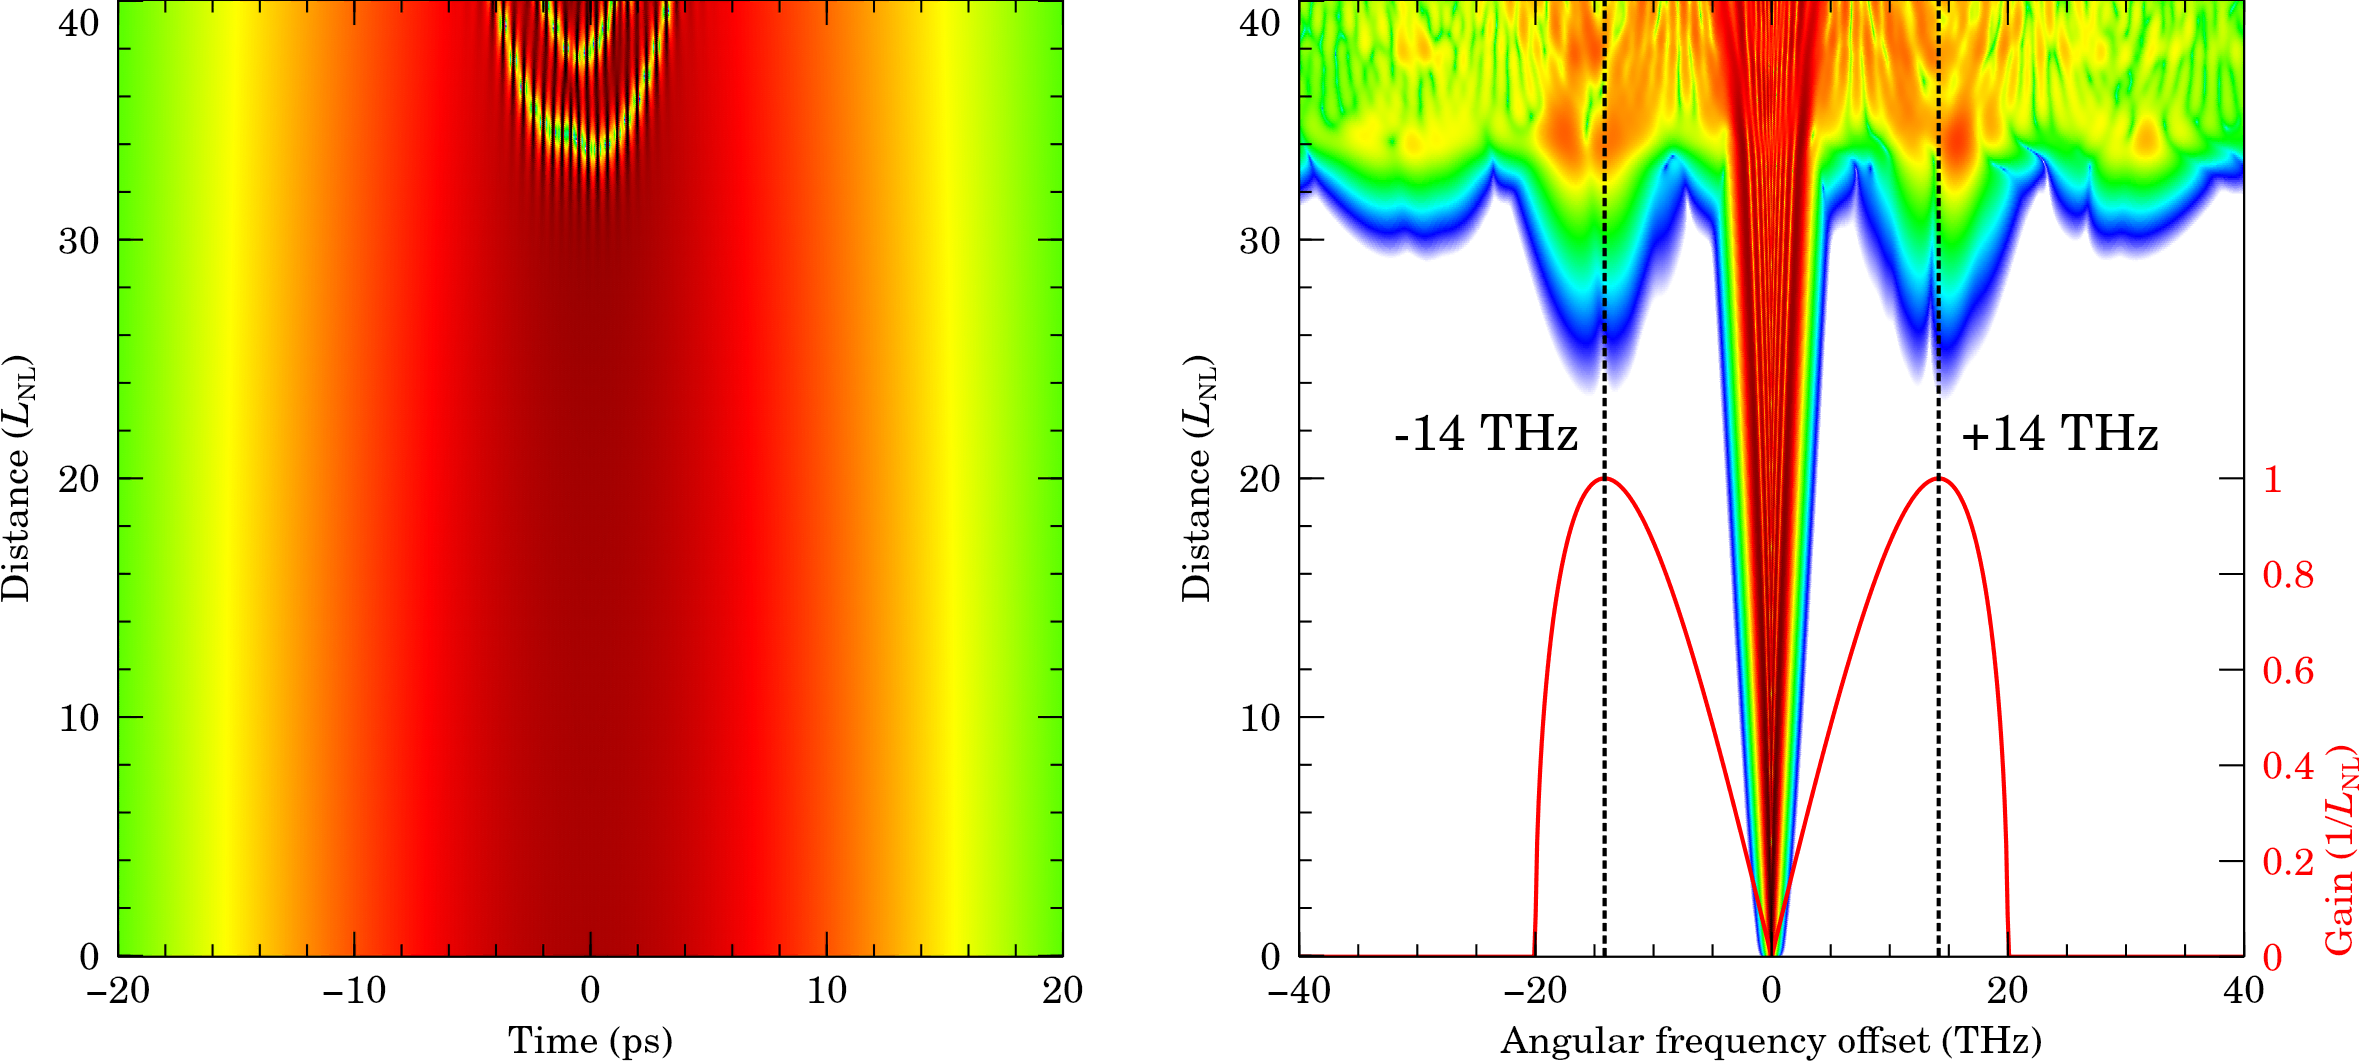
I will use the test image given below, which shows a simulation of modulational instability in an optical fiber. The raw file, as exported by Veusz, is a 1,207,860-byte (1.21MB, 1.15MiB) PNG with a resolution of 2362x1062, or 2,508,444px² (2.51MP). Click for lossless full-size view:

This is representative of the kind of pictures I have on this website, and it has a combination of high-contrast text and lines, gradual colour transitions, and fine details (especially at the top of the left panel). Depending on what images you want to optimize, your mileage may vary if you take my advice. Figure out what works for you, and I hope this post helps with that.
PNG
Despite dating from the late 1990s, PNG is still pretty solid. Its losslessness makes it by far the largest format discussed here, but it would be unfair to hold that against it. For full quality, PNG is the perfect choice before more exotic formats like TIFF.
But not all lossless compression is the same. Given a PNG image, you may be able to reduce its size using Oxipng, which plays with the file’s internal knobs to squeeze every last drop out of the compression algorithms. Let’s dial all settings to eleven and see what it can do:
$ oxipng --strip=all --alpha --filters=9 --zc=12 image.png
# 1,207,860 to 982,403 bytes: reduced by 225,457 bytes (18.7%)
# Took 2s on my system (oxipng 8.0.0)
A 16.4% reduction for losslessly compressed data is pretty impressive.
--strip=all removes all unneeded metadata,
--alpha enables transparency optimizations,
e.g. removing the A channel from an opaque RGBA image,
and --zc=12 sets the highest Deflate level.
--filters=9 tells Oxipng to brute-force the PNG’s per-row
filtering setting,
which always gave the best results in my tests.
I you want, you can instead use --opt=max to try all filtering approaches
(including 9): this is slower, but may be better for some images?
I’m not sure.
But can we go smaller? Yes, in fact we can, although it comes at a cost. Yes, that’s over 2 minutes to optimize a single 2.5MP image:
$ oxipng --strip=all --alpha --filters=9 --zopfli image.png
# 1,207,860 to 973,478 bytes: reduced by 234,382 bytes (19.4%)
# Took 2m9s on my system (oxipng 8.0.0)
So what does --zopfli do? Well, Zopfli
is a Google-made compressor aiming to minimize file sizes
while being Deflate-compatible.
Basically, it’s zlib but better.
Interestingly, Zopfli ships with its own PNG optimizer zopflipng…
Let’s see what it can do:
$ zopflipng --iterations=15 --filters=b -y input.png output.png
# 1,207,860 to 975,943 bytes: reduced by 231,917 bytes (19.2%)
# Took 1m3s on my system (zopfli 1.0.3)
You can increase the number of iterations if you want to,
but the returns diminish strongly,
and it wasn’t enough to beat Oxipng in a reasonable time.
Time is the key word:
no, zopflipng doesn’t beat Oxipng’s Zopfli mode,
but it does save a lot of time!
File links: original PNG, Oxipng (no Zopfli), Oxipng (Zopfli), Zopflipng,
JPEG
While PNG has held up well, JPEG hasn’t really. It’s the most popular lossy compression format, but its distinctive damage to the image’s quality is worse than modern alternatives, and high-quality JPEGs tend to be quite large.
Figuring out how to optimize JPEGs is easy,
because someone else has already done the hard work for us:
MozJPEG
is a friendly fork
of the popular libjpeg-turbo package,
where Mozilla uses all the latest tech to make small, good-looking JPEGs:
$ cjpeg -quality 90 -outfile output.jpg input.png
# 1,207,860 to lossy 339,094 bytes: reduced by 868,766 bytes (71.9%)
# Took 0.2s on my system (MozJPEG 4.1.1)
But what if you don’t have a PNG, only a non-optimized JPEG? Then you can choose between:
$ jpegtran -copy none -outfile output.jpg input.jpg
$ jpegoptim --strip-all image.jpg # separate package
And as long as you have MozJPEG installed,
these will squeeze every drop out of your file.
If you can’t use MozJPEG for some reason,
jpegoptim can still help a bit.
If you’re feeling adventurous, you can pass the -arithmetic flag
to cjpeg or jpegtran to employ arithmetic coding
instead of Huffman coding,
which knocks a few percent off the size:
# Don't actually do this!
$ cjpeg -quality 90 -arithmetic -outfile output.jpg input.png
# 1,207,860 to lossy 308,893 bytes: reduced by 898,967 bytes (74.4%)
# Took 0.4s on my system (MozJPEG 4.1.1)
The problem is that many image viewers (including browsers) can’t display these files because arithmetic coding was patented, so implementations couldn’t just be freely distributed or used. The patents have expired now, but the world hasn’t caught up yet.
File links: normal JPEG, arithmetic JPEG. Bonus points if you can open the latter.
WebP
WebP is the Swiss army knife of formats, supporting both lossless and lossy compression of static or animated images. It’s only been around for a few years, and hasn’t gained so much popularity, probably because it was immediately overshadowed by AVIF (to be discussed below). Internally, it relies on VP8 video compression: this provides a nice size reduction, but the images tend to get blurred slightly, and low-contrast areas can become blocky.
Indeed high-quality JPEGs look better than high-quality WebPs, but the latter tend to be less than half the size, so it isn’t bad at all. According to my tests, the best way to create a WebP is:
$ cwebp -q 90 -m 6 -sharp_yuv -sns 100 input.png -o output.webp
# 1,207,860 to lossy 139,868 bytes: reduced by 1,067,992 bytes (88.4%)
# Took 0.3s on my system (libwebp 1.3.0, libsharpyuv 0.2.0)
The flags -q 90 and -m 6 set the quality to 90%
with the slowest compression method.
The most important setting is -sharp_yuv,
which counteracts a lot of the blurriness
and more accurately preserves the contrast,
at the cost of slightly larger files.
-sns 100 has a big effect on file size, without much influence on quality.
I don’t use WebP’s lossless mode, but according to this post it’s one of the best out there, so I had a quick look, and it’s indeed pretty impressive compared to PNG:
$ cwebp -lossless -z 9 input.png -o output.webp
# 1,207,860 to 766,604 bytes: reduced by 441,256 bytes (36.5%)
# Took 7.2s on my system (libwebp 1.3.0)
You can also pass -near_lossless 0 to let it slightly change
pixel values for better compressibility.
This causes visible degradation, but still looks better than a lossy-mode WebP:
$ cwebp -lossless -near_lossless 0 -z 9 input.png -o output.webp
# 1,207,860 to 492,606 bytes: reduced by 715,254 bytes (59.2%)
# Took 6.6s on my system (libwebp 1.3.0)
File links: lossy WebP, lossless WebP, near-lossless WebP.
AVIF
AVIF, the new kid on the block based on AV1 video compression, is honestly incredible: it reduces file sizes much further than WebP, and the final quality is so good that I sometimes struggled to tell the difference with the original PNG. I suspect that AVIF’s success is the reason why Google is winding down their work on WebP 2 and JPEG-XL.
AV1 compression is complicated business, so I haven’t exhaustively tested all options as I did for JPEG and WebP. Instead, I used the settings I found in this Reddit post, because I trust random strangers on the Internet:
$ avifenc --min 0 --max 63 --speed 0 -a end-usage=q -a cq-level=31 -a color:sharpness=2   \
   -a tune=ssim -a color:enable-chroma-deltaq=1 -a color:deltaq-mode=3 -a color:aq-mode=1 \
   input.png output.avif
# 1,207,860 to lossy 59,792 bytes: reduced by 1,148,068 bytes (95.1%)
# Took 11s on my system (libavif 0.11.1)
Yes, it’s slower to encode, and you can see some degradation if you look closely, but that’s a 95% compression ratio! It looks slightly worse than the JPEG from earlier (which was 5 times as big), but better than the lossy WebP (which was over twice the size). Incredible.
AVIF is quite new, so support is still lacking.
As of writing, Firefox and Chromium work perfectly, but Edge can’t display AVIFs yet,
and if I try to open a file with imv, it looks messed up.
File links: lossy AVIF.
JPEG-XL
As of writing, Firefox can’t display JPEG-XL yet, and Google has aborted support for it. If it doesn’t work on the web and I can’t even test it locally, then I definitely can’t optimize it!
It’s sad, because there’s evidence (e.g. in this post) that JPEG-XL is a significant improvement over AVIF in every way: fidelity, file size, and encoding/decoding speed, although the latter might be due to AV1’s relative immaturity. It can also losslessly recompress existing JPEGs!
Conclusion
Of course, optimizing images is optional, but doing so speeds up page loading for users on bad connections, and, if your server provider bills you for traffic, can save you a significant amount of money too. My website doesn’t contain many images, but on the pages that do, using a modern format like AVIF reduces transfers by >80% compared to JPEG, which has been the standard for far too long. WebP isn’t as good as AVIF, but is also a respectable choice. JPEG-XL would be the best of all words, but sadly doesn’t seem meant to be.